CLI
Marcelle provides an application generator (create-marcelle) as well as a command line interface (@marcellejs/devtools) for generating components and managing backends in Marcelle projects.
Generating Marcelle Applications
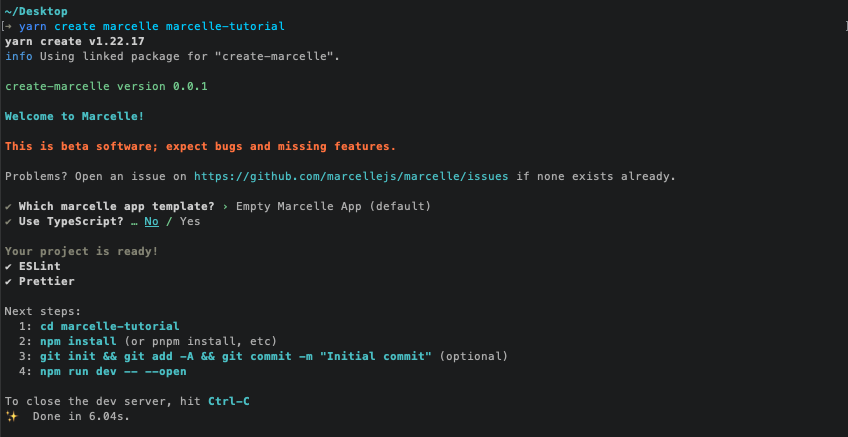
To create a new Marcelle project, just run:
Several options are available:
- Templates:
- Empty Marcelle App (default): a minimalistic Vite application, perfect for prototyping dashboards
- SvelteKit+Marcelle App: a more elaborate template for multipage applications with a custom interface. It uses SvelteKit.
- TypeScript: use Typescript for your Marcelle application (including for custom components)
Development Tools (CLI)
When generating a new Marcelle application, a CLI is installed as a development dependency (@marcellejs/devtools). It includes a number of useful tools for development.
To run the CLI from your project's root:
Generating a Component
It is possible to use the CLI to create new custom components for an application or a marcelle package. Run npx marcelle, then select 'Create a component' and enter your component's name (e.g. my-component). The generator will create a template component that you can use your in your script:
import { myComponent } from './components';

const m = myComponent(opts);
Components are stored in the src/components directory and provide a Svelte view by default:
.
├── src
│   └── components
│       ├── my-component
│       │   ├── my-component.component.js # Component definition file
│       │   ├── my-component.view.svelte    # Svelte component defining the component's view
│       │   └── index.js            # function wrapper
│       └── index.js
Managing the Backend
The CLI offers two tools to manage persistent data in a server-side 'backend'.
Configuring a backend
To simply add a backend to your application, select 'Manage the backend', then 'Configure a backend'. this will install @marcellejs/backend as a dependency to your project and create configuration files.
Two options are available for the backend:
- The type of database: NeDB and MongoDB are currently supported.
- Whether or not it should use authentication.
After reinstalling dependencies (npm install or yarn or pnpm install), you can run the server:
npm run backend
The backend configuration files are stored in backend/configuration.
Exporting a backend (experimental)
It is possible to export the source code for the backend in the './backend' directory in order to customize it.